
Converting Wordpress.com Blog to EPUB and Kindle Files
From Blogging to Publishing
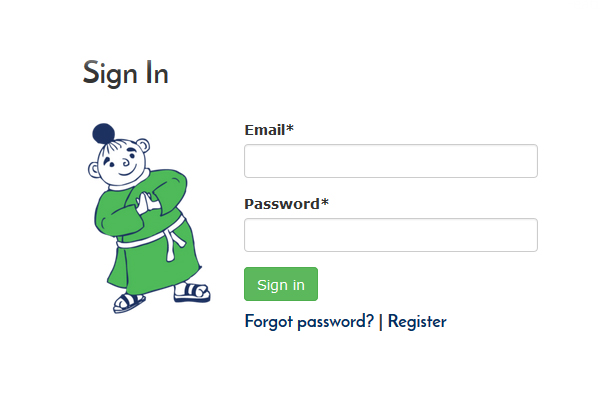
Login
If you aren’t already registered, you need to do so before you can continue.
Import your Blog
After logging in, you will be redirected to your InstaScribe Dashboard. Look for “Import a WordPress.com Blog” widget on the left sidebar.
Enter the URL of your blog, click “Import” and follow the instructions to authenticate. InstaScribe uses oAuth feature of Wordpress.com for this authentication. So, you don’t have to worry about the security of your password. We do not get to see your password at all.
Select Posts
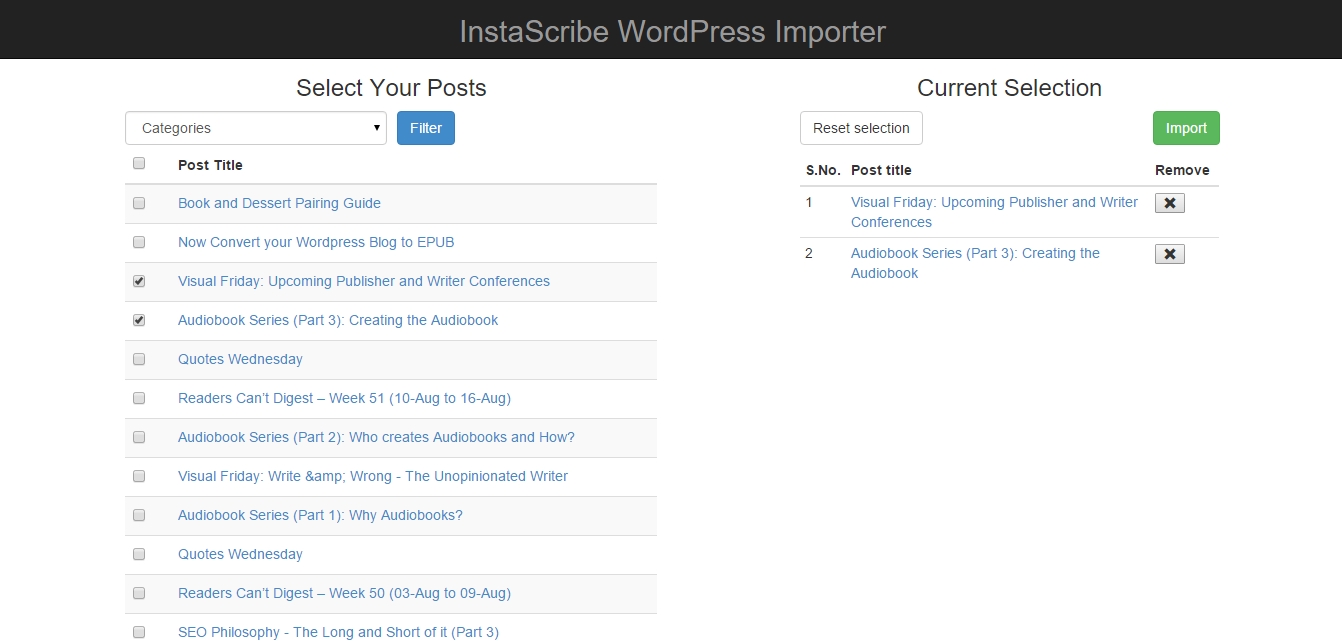
After successful authentication, you will be presented with a list of latest posts on Wordpress importer page. Here you can select the posts you want to import.
You can keep track of posts selected for import on the right side of the screen and remove them by clicking on the cross (x) sign next to them, if they are not wanted in the final list.
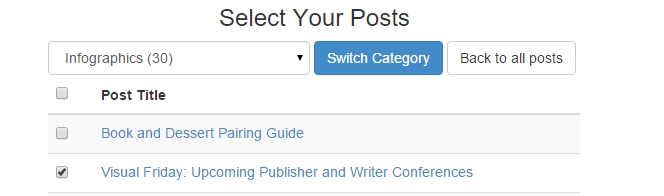
You can filter the post list by category to make the selection easy.
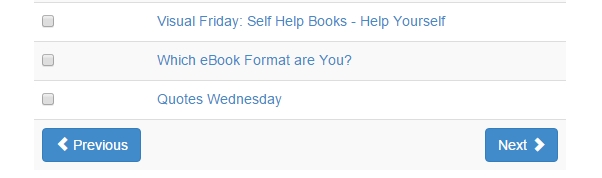
You can navigate to the next set of older or newer posts by using the “Next” and “Previous” buttons at the bottom of post list.
When you have selected all the posts you want, click on the Import button available at the top of selected posts.
Edit and Format
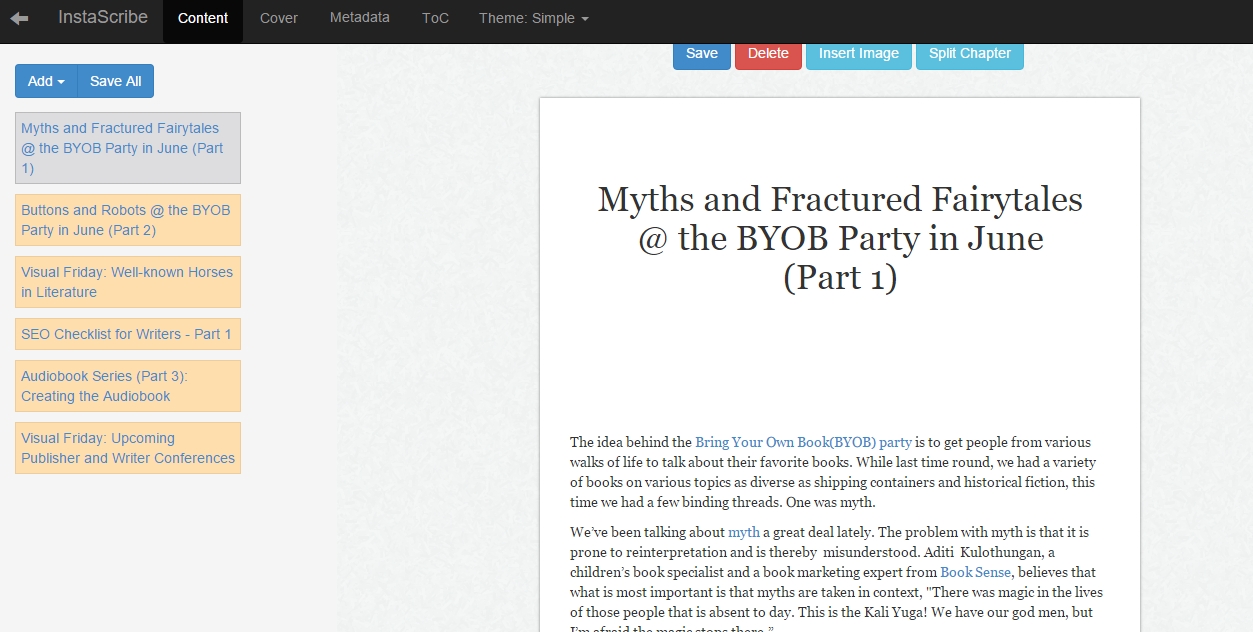
On clicking import, you will be redirected to the InstaScribe Writing Desk with the selected posts imported as different chapters.
In a chapter, you can edit the content and insert images. One handy feature here is the ability to split a chapter. If the chapters have not been imported correctly, or if you would rather have the content of one chapter spread across two or more pages in the eBook, you can split a chapter. To do so, you need to place the cursor where you intend to split it, then click “Split Chapter” button on the top. The content after the cursor will move to the next chapter. If you select some text while splitting chapter, the selected text automatically becomes the title of the new chapter. Remember to click “Save” button for the new chapters or click “Save All” to save changes across chapters.
You can also delete the chapter altogether.
Then look for the blue "Add" button on the top of the chapter list.
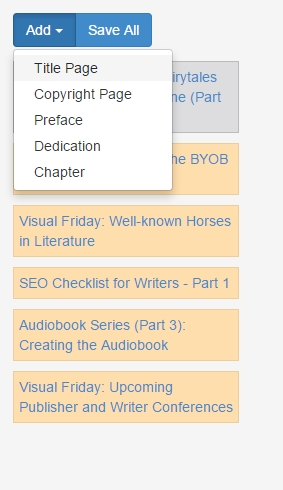
Clicking on it would give you the option to add different kinds of content to the eBook. Use is to add Title page, copyright, preface, dedication and any other content you want to add to your book.
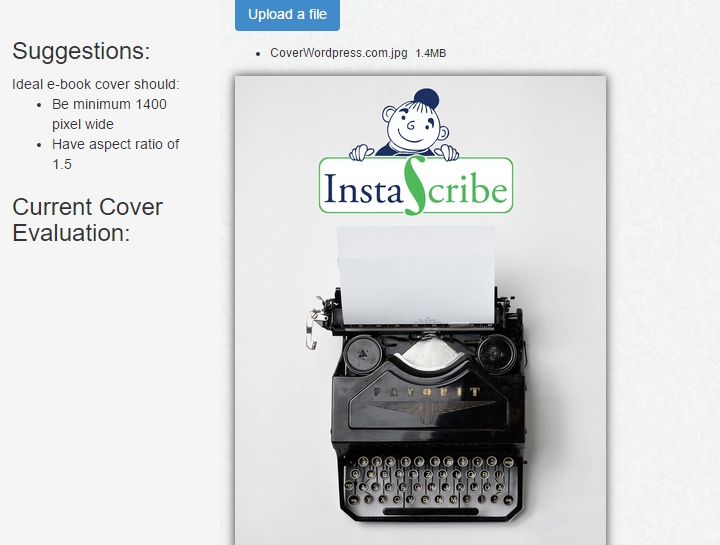
Upload a Cover
Click on the “Cover” tab on the navigation panel at top and here you can upload a cover for your eBook. An image of size 1400px x 2100px is recommended.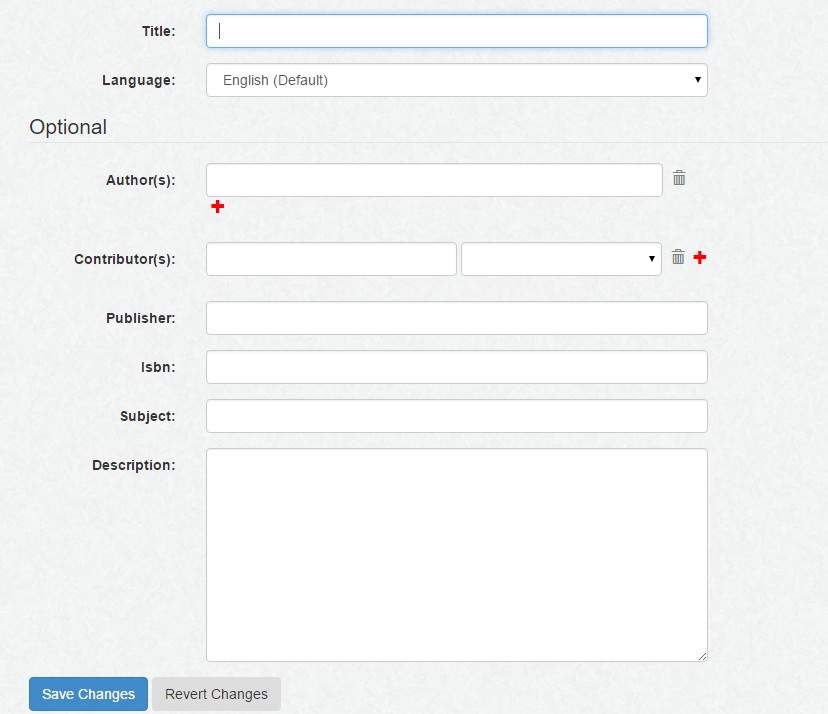
Enter the Metadata
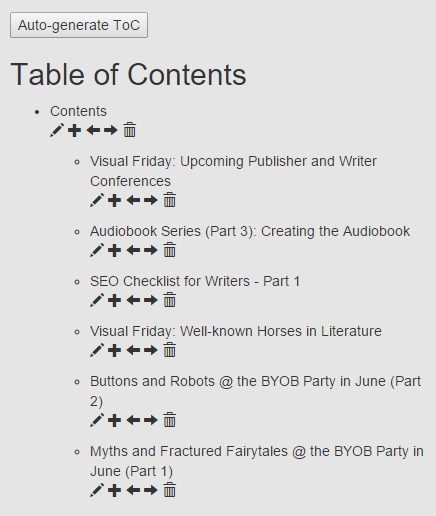
Check Table of Contents
Click on the “ ToC” on the top navigational bar.
A table of contents based on your chapter titles and headings used within the chapters is automatically generated. If it’s not, click on “Auto-generate TOC”. For most eBooks this should suffice. However, if you really want to take complete control over your TOC, you can do it here.
You can edit the titles. It won’t update the title in the actual content. Use this edit feature, only if you want your TOC entry to be different from the title. If there are headings in the chapters, mutli-level TOC would have been generated. Again, usually the default would be best, but if you want, you can change the level of entries by moving them left or right.
You can also delete a TOC entry altogether if you don’t want it.
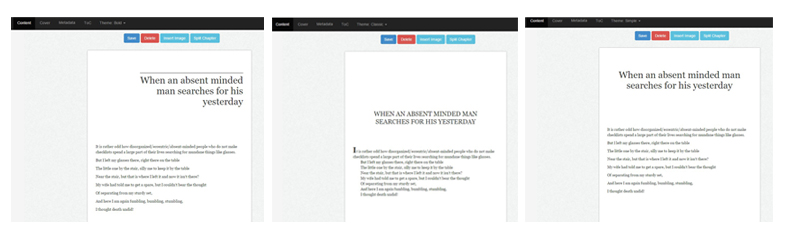
Choose a Theme
Export your eBook
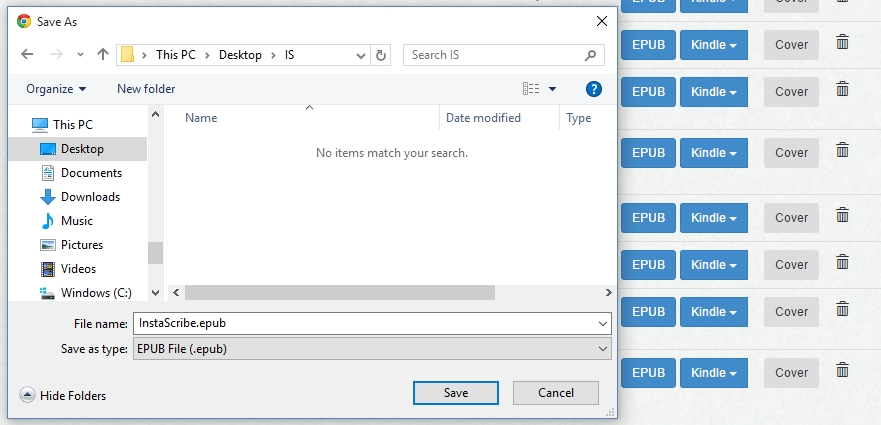
Once you have created the book, added all the customary pages, uploaded the cover, and filled in metadata, you are ready to export your files. Make sure you have saved everything, then click on the arrow on top-left to go back to dashboard.
There are three options here:
- EPUB: This will create a general EPUB file that can be used at Kobo, Google Play, iBookstore, etc.
- Kindle: These files have been specially created for Kindle. If you are using KDP, you should upload the EPUB downloaded from here. If you are going through other distributors, and they need a Mobi file, you can download the Mobi file for them.
- Cover: The EPUB or Mobi files include the cover. But if the publishing platform or distributor needs cover to be uploaded separately, this is a handy place to download it.