
Converting Microsoft Word to EPUB and Kindle Files
Easy Conversion, Direct Editing, Perfect Output
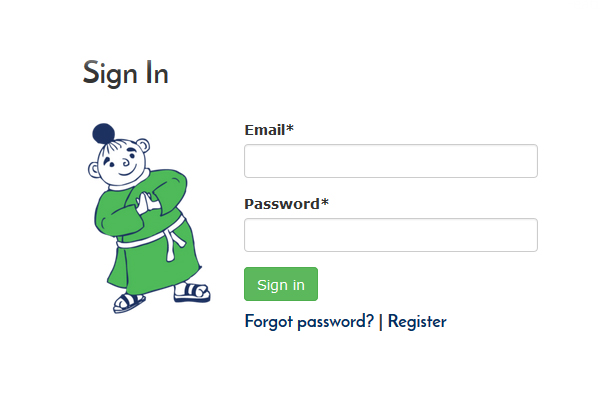
Login
If you aren’t already registered, you need to do so before you can continue.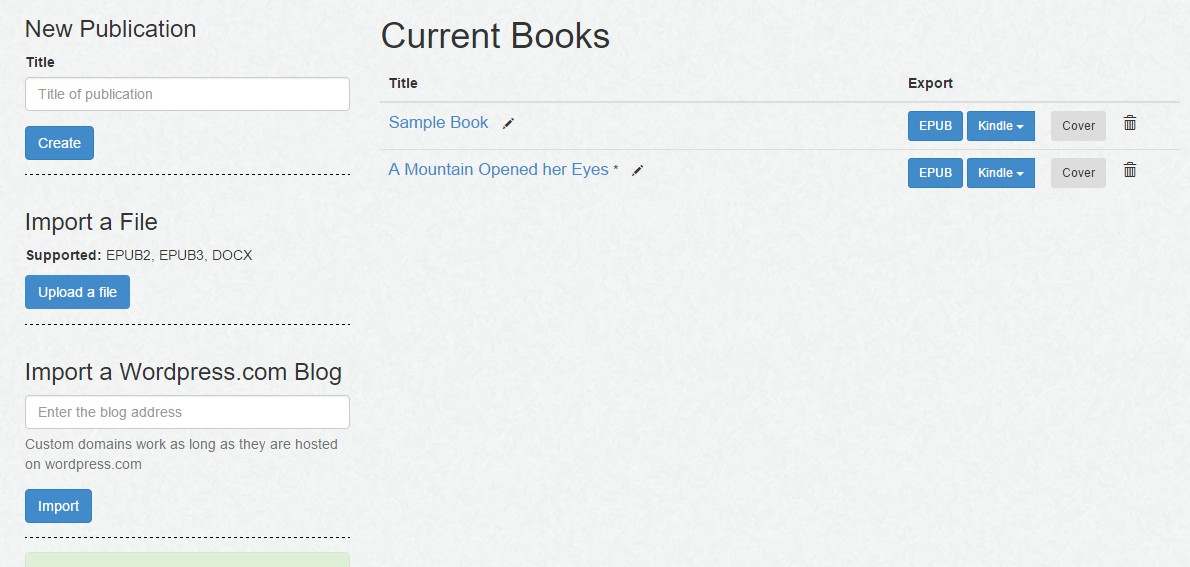
Upload Your eBook
After logging in, you will be redirected to your InstaScribe Dashboard where you can create your eBook.
At this stage, ensure that your file is in docx format and not the older doc format.
Click on the ""Upload a File" button on the left. Select the file from your computer. If the upload is successful, a green message confirming success will appear.
If an error message you can’t figure out appears, contact the InstaScribe Team at support@instascribe.com.
Edit and Format
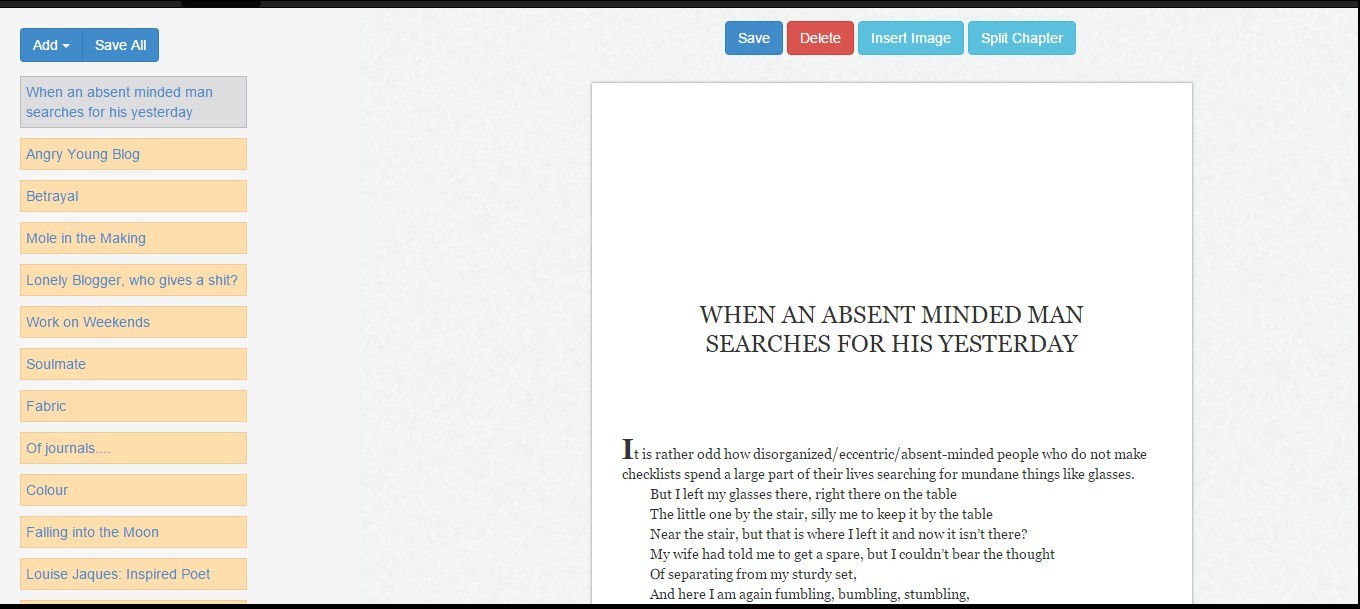
After you have successfully created a new eBook, you will be redirected automatically to the Writing Desk.
At the top of the left sidebar you will see a blue add button. Using this, you can add Title Page, Copyright, Preface, Dedication, Acknowledgements, as well as additional chapters and use the WYSIWYG editor to edit and format your content.
Even if you have title, copyright and such standard pages in your original manuscript, it is better that you use the template provided here for those pages. We have specifically designed pages for such content. Copy the content from original chapter, add the page from here and paste in it. The newly added page would be at the bottom of the list. Drag it to its correct place; then delete the original chapter.
If your original manuscript had cover image as well that has been imported as a chapter, delete that chapter or image. Cover should be uploaded separately as we will explain later in this article.
In a chapter, you can edit the content and insert images. One handy feature here is the ability to split a chapter. If the chapters have not been imported correctly, or if you would rather have the content of one chapter spread across two or more pages in the eBook, you can split a chapter. To do so, you need to place the cursor where you intend to split it, then click “Split Chapter” button on the top. The content after the cursor will move to the next chapter. If you select some text while splitting chapter, the selected text automatically becomes the title of the new chapter. Remember to click “Save” button for the new chapters or click “Save All” to save changes across chapters.
You can also delete the chapter altogether.
While importing, InstaScribe tries to understand the semantics of your book as far as it can. But nobody knows better than an author or publisher how exactly a book should be organized. So, make best use of Writing Desk to format and organize your eBook exactly as it should be.
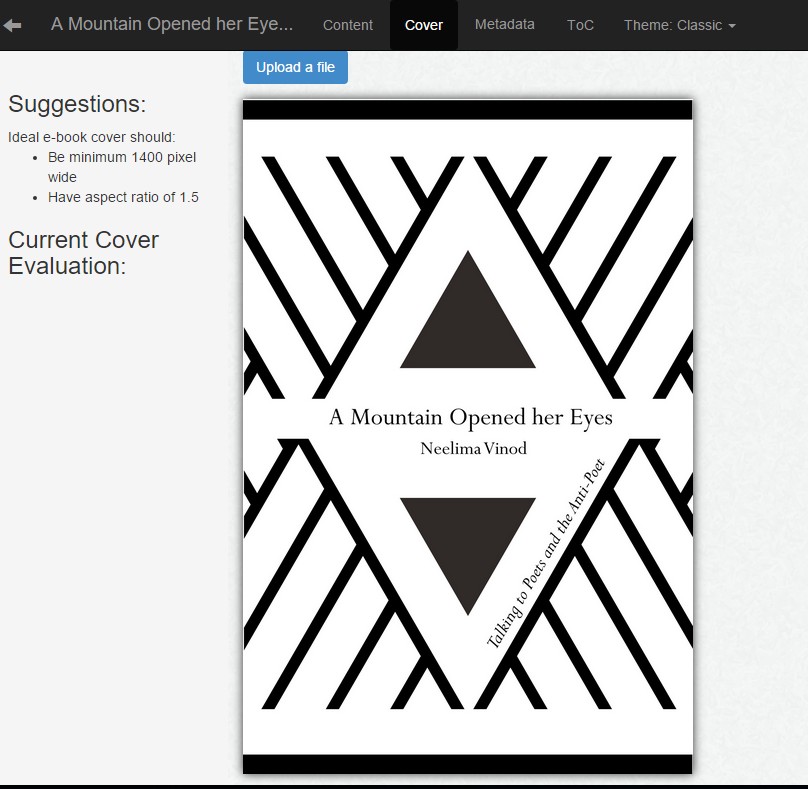
Upload a Cover
Click on the “Cover” tab on the navigation panel at the top and here you can upload a cover for your eBook. An image of size 1400px x 2100px is recommended.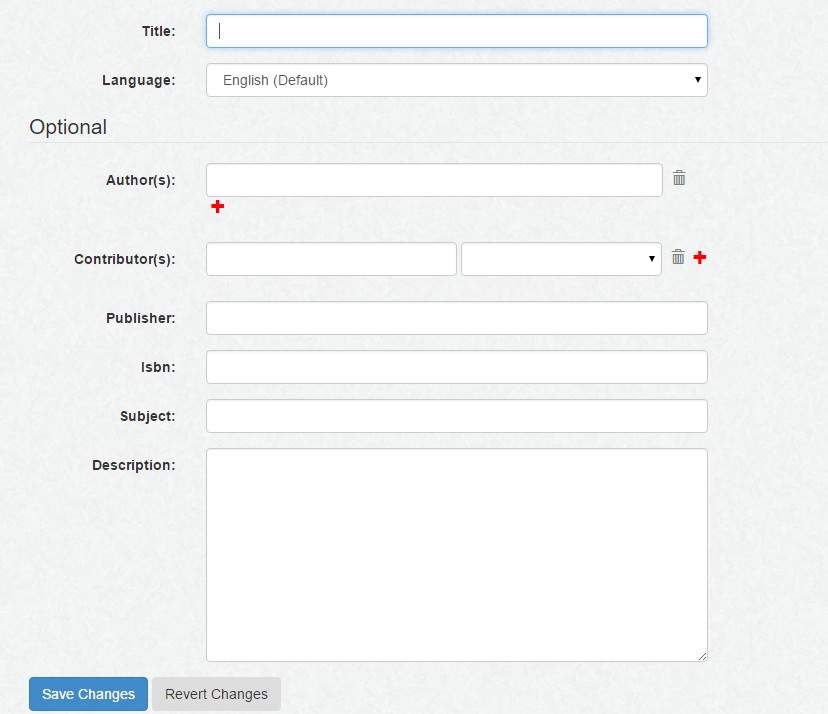
Enter the Metadata
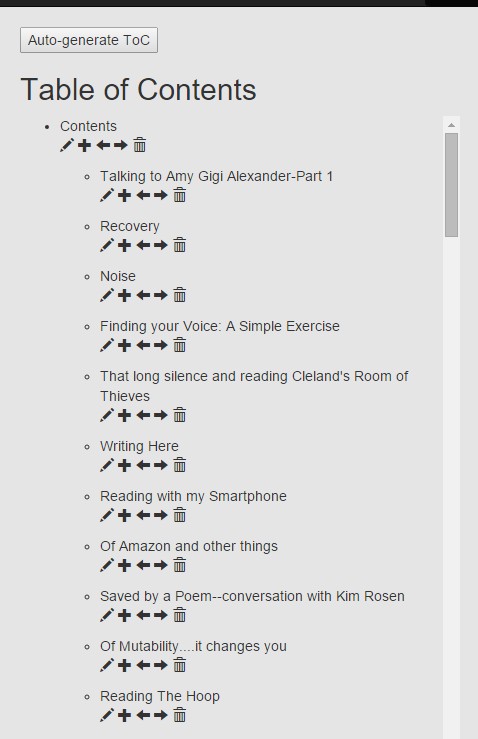
Check Table of Contents
Click on the “ ToC” on the top navigational bar.
A table of contents based on your chapter titles and headings used within the chapters is automatically generated. If it’s not, click on “Auto-generate TOC”. For most eBooks this should suffice. However, if you really want to take complete control over your TOC, you can do it here.
You can edit the titles. It won’t update the title in the actual content. Use this edit feature, only if you want your TOC entry to be different from the title. If there are headings in the chapters, mutli-level TOC would have been generated. Again, usually the default would be best, but if you want, you can change the level of entries by moving them left or right.
You can also delete a TOC entry altogether if you don’t want it.
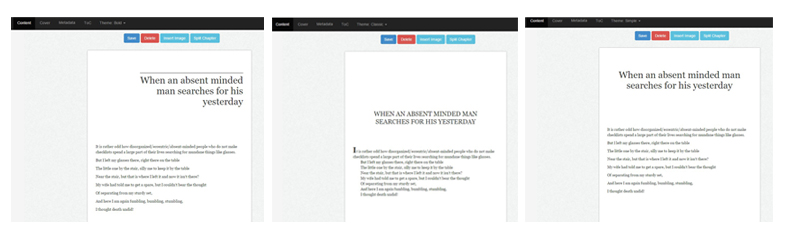
Choose a Theme
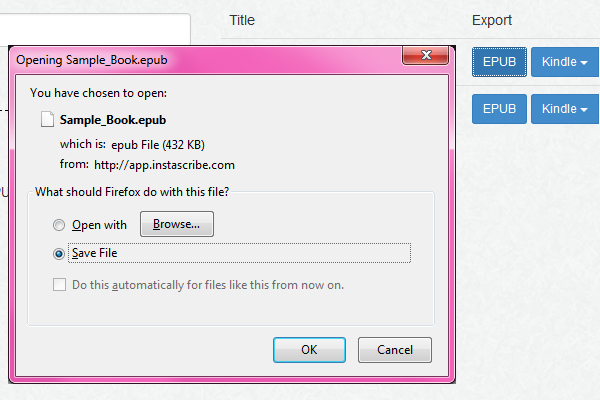
Export your eBook
Once you have created the book, added all the customary pages, uploaded the cover, and filled in metadata, you are ready to export your files. Make sure you have saved everything, then click on the arrow on top-left to go back to dashboard.
There are three options here:
- EPUB: This will create a general EPUB file that can be used at Kobo, Google Play, iBookstore, etc.
- Kindle: These files have been specially created for Kindle. If you are using KDP, you should upload the EPUB downloaded from here. If you are going through other distributors, and they need a Mobi file, you can download the Mobi file for them.
- Cover: The EPUB or Mobi files include the cover. But if the publishing platform or distributor needs cover to be uploaded separately, this is a handy place to download it.